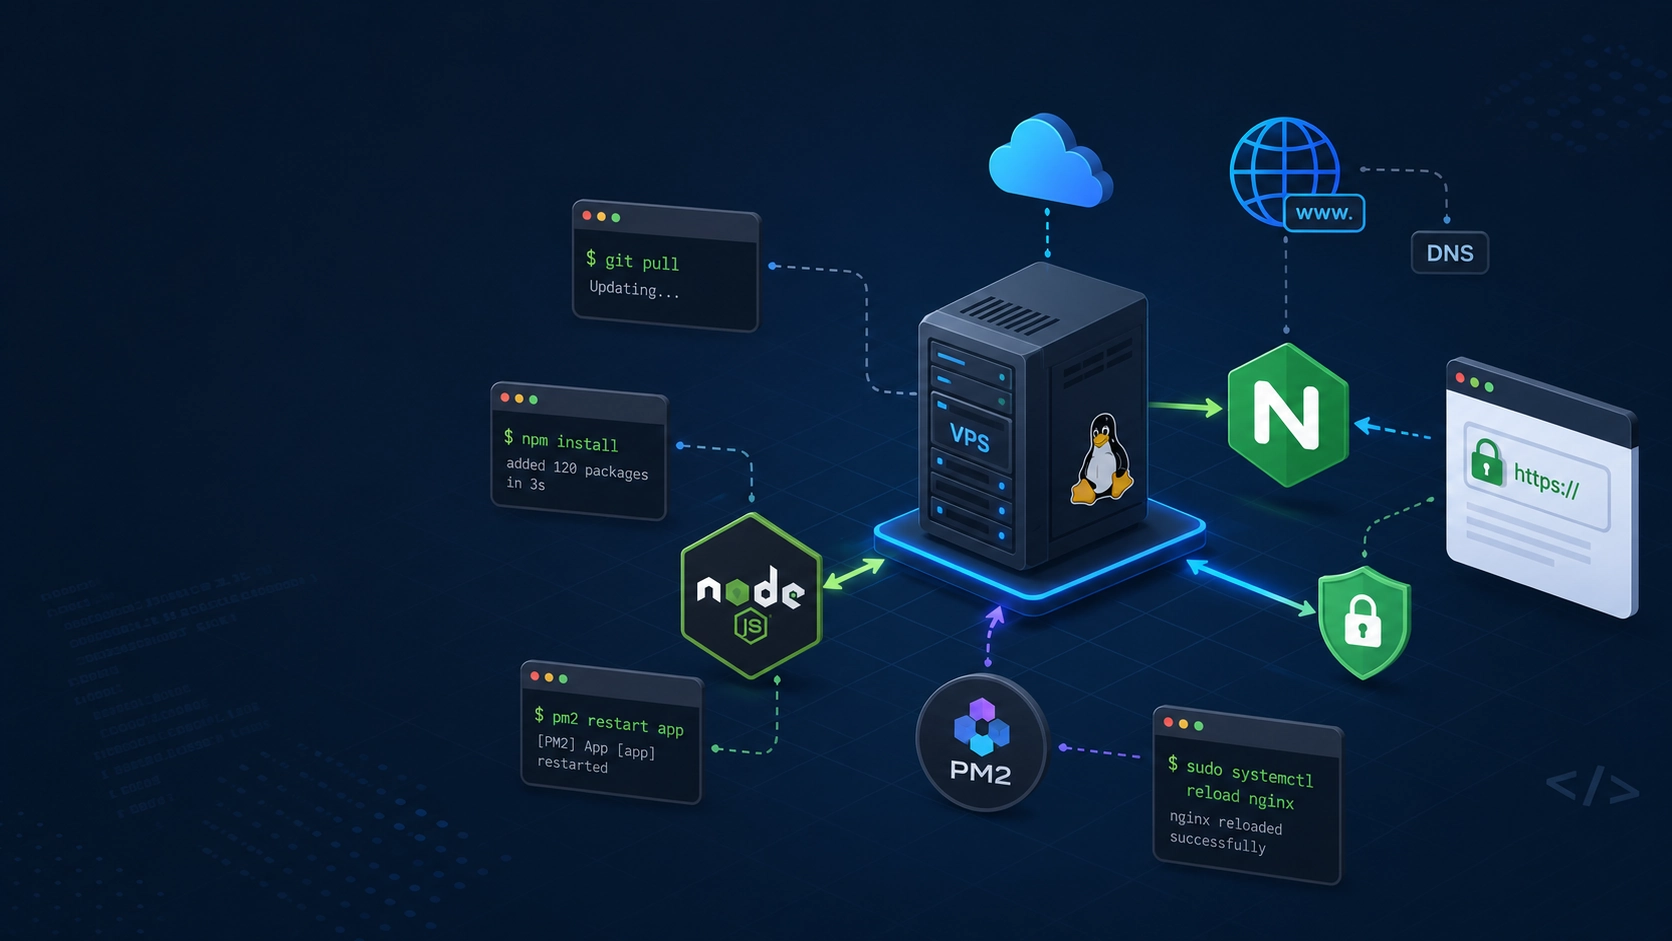
A modern step-by-step guide for deploying a Node.js application on an Ubuntu VPS using Nginx as a reverse proxy, PM2 for process management, pnpm for package management, and Let's Encrypt for free SSL.
Overview
This guide walks through deploying a Node.js application on an Ubuntu VPS using:
- Node.js 24 (via NVM)
- pnpm
- PM2
- Nginx reverse proxy
- Let's Encrypt SSL certificates
- UFW firewall
At the end, your application will:
- Run continuously in the background
- Automatically restart after crashes or server reboots
- Be accessible through your domain
- Serve traffic securely over HTTPS
Prerequisites
Before you begin, make sure you have:
- An Ubuntu VPS with SSH access
- A registered domain name
- DNS A records pointing to your VPS IP address
- A Git repository containing your application
- A user account with sudo privileges
Step 1: Connect to Your Server
ssh username@server_ipExample:
ssh ubuntu@203.0.113.10Verify your OS version:
lsb_release -aStep 2: Update the Server
sudo apt update
sudo apt install -y curl git build-essential
Step 3: Create a Deploy User (Recommended)
Avoid running applications as root.
sudo adduser deploy
sudo usermod -aG sudo deploy
Switch to the new user:
su - deployAll subsequent Node.js, pnpm, and PM2 commands should be run as this user.
Step 4: Remove Apache (Optional)
If Apache is already installed and you plan to use Nginx:
sudo apt purge apache2* -y
sudo apt autoremove -y
Step 5: Install Node.js with NVM
NVM (Node Version Manager) allows you to manage Node.js versions without relying on system package repositories.
Install NVM
curl -o- https://raw.githubusercontent.com/nvm-sh/nvm/v0.40.4/install.sh | bashLoad NVM into the current shell:
\. "$HOME/.nvm/nvm.sh"Install Node.js
nvm install 24Verify the installation:
node -vExpected output:
v24.x.xEnable pnpm
corepack enable pnpmVerify pnpm:
pnpm -vStep 6: Install Nginx
sudo apt install -y nginxEnable and start Nginx:
sudo systemctl enable nginx
sudo systemctl start nginx
Verify installation:
sudo systemctl status nginx
nginx -v
Step 7: Configure the Firewall
Install UFW (Uncomplicated Firewall):
sudo apt install -y ufwAllow SSH, HTTP, and HTTPS traffic:
sudo ufw allow OpenSSH
sudo ufw allow 'Nginx Full'
sudo ufw enable
Verify:
sudo ufw statusStep 8: Clone Your Application
sudo mkdir -p /var/www
sudo chown $USER:$USER /var/www

cd /var/www
Clone your repository:
git clone <repository-url> my-appEnter the project directory:
cd my-appInstall dependencies:
pnpm installBuild the project if required:
pnpm buildStep 9: Configure Environment Variables
Create your environment file:
nano .envExample:
PORT=3000
DATABASE_URL=postgresql://...
JWT_SECRET=your-secret
Step 10: Install PM2
Install PM2 globally:
pnpm add -g pm2Verify:
pm2 --versionStep 11: Start the Application
Applications using:
pnpm startcan be started with:
pm2 start pnpm --name "my-app" -- startFor custom entry files:
pm2 start server.js --name "my-app"View running processes:
pm2 listView logs:
pm2 logs my-appStep 12: Configure PM2 Startup
Generate startup configuration:
pm2 startupPM2 will output a command.
Run the generated command exactly as shown.
Save the current process list:
pm2 saveImportant
If you installed Node.js using NVM, run
pm2 startupas the same user that installed Node.js. PM2 will automatically generate the correct Node.js path.
Step 13: Configure Nginx Reverse Proxy
Create a new site configuration:
sudo nano /etc/nginx/sites-available/my-appPaste the following:
map $http_upgrade $connection_upgrade {
    default upgrade;
    ''      close;
}

upstream nodejs_backend {
    server 127.0.0.1:3000;
    keepalive 64;
}

server {
    listen 80;
    listen [::]:80;

    server_name domain.com www.domain.com;

    location / {
        proxy_pass http://nodejs_backend;

        proxy_http_version 1.1;

        proxy_set_header Host $host;
        proxy_set_header X-Real-IP $remote_addr;
        proxy_set_header X-Forwarded-For $proxy_add_x_forwarded_for;
        proxy_set_header X-Forwarded-Proto $scheme;

        proxy_set_header Upgrade $http_upgrade;
        proxy_set_header Connection $connection_upgrade;

        proxy_cache_bypass $http_upgrade;
    }
}
Replace:
domain.comwww.domain.com3000with your application's port
Why Use an Upstream Block?
Instead of hardcoding:
proxy_pass http://127.0.0.1:3000;define the backend once:
upstream nodejs_backend {
    server 127.0.0.1:3000;
}
Then reference it everywhere:
proxy_pass http://nodejs_backend;If the application port changes later, only the upstream definition needs updating.
Step 14: Enable the Site
Enable the site:
sudo ln -s /etc/nginx/sites-available/my-app /etc/nginx/sites-enabled/Validate the configuration:
sudo nginx -tReload Nginx:
sudo systemctl reload nginxStep 15: Verify the Application
Confirm your application is listening:
ss -tulpn | grep 3000Visit:
http://yourdomain.comYour application should now be accessible through Nginx.
Step 16: Install SSL with Let's Encrypt
Install Certbot:
sudo apt install -y certbot python3-certbot-nginxGenerate certificates:
sudo certbot --nginx -d domain.com -d www.domain.comChoose:
Redirect HTTP to HTTPSStep 17: Enable Automatic SSL Renewal
Let's Encrypt certificates expire every 90 days, so renewal needs to happen without manual intervention.
Verify the Renewal Timer
Installing certbot via apt also installs a systemd timer that checks twice a day whether any certificate needs renewing. Confirm it's active:
sudo systemctl status certbot.timerIf it shows inactive, enable it:
sudo systemctl enable --now certbot.timerTest the Renewal Process
Simulate a renewal without touching your live certificate:
sudo certbot renew --dry-runA successful dry run means the certificate will renew automatically before it expires.
Reload Nginx After Renewal
The Nginx plugin normally reloads Nginx for you after a real renewal, but adding an explicit deploy hook guarantees it:
sudo mkdir -p /etc/letsencrypt/renewal-hooks/deploy
sudo nano /etc/letsencrypt/renewal-hooks/deploy/reload-nginx.sh
#!/bin/bash
systemctl reload nginxMake it executable:
sudo chmod +x /etc/letsencrypt/renewal-hooks/deploy/reload-nginx.shCertbot runs every script in renewal-hooks/deploy after a successful renewal.
Check Renewal Logs
sudo cat /var/log/letsencrypt/letsencrypt.logStep 18: Deploy Future Updates
Pull the latest code:
git pullInstall dependencies:
pnpm installBuild:
pnpm buildRestart the application:
pm2 restart my-appUseful PM2 Commands
pm2 list
pm2 logs my-app
pm2 restart my-app
pm2 stop my-app
pm2 delete my-app
pm2 monit
Troubleshooting
View PM2 Logs
pm2 logs my-appView Nginx Logs
sudo tail -f /var/log/nginx/error.logValidate Nginx Configuration
sudo nginx -tVerify Port Binding
ss -tulpnConclusion
You now have a production-ready Node.js deployment powered by:
- Node.js 24 via NVM
- pnpm
- PM2
- Nginx reverse proxy
- Let's Encrypt SSL
- Automatic startup after server reboots
This setup works well for Express.js, NestJS, Next.js standalone deployments, Fastify, Hono, and most modern Node.js applications.
If your application requires PostgreSQL, the companion guide — Install PostgreSQL 18 on Ubuntu — PGDG Repository, Security, First Steps — covers adding the PGDG repository, post-install security, remote access, and the configuration decisions most tutorials skip.
Originally published on medium.com
Read on Medium